Step by step info:
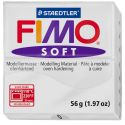
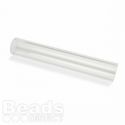
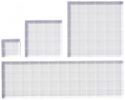
1. Roll out the clay (about 3-4 mm thick).
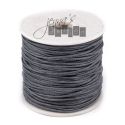
2. Take your stamp and press it on top of the clay but you can also use wool, twine, twig, ...
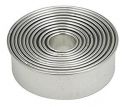
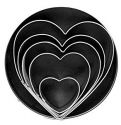
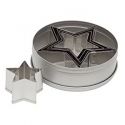
3. Cut your clay shapes using the cookie cutter (heart, circle or star) .
4. Make a hole in the top using ball styluses tool or straw.
5. Move your decoration on a baking sheet with baking paper.
6. Bake 30 minutes - 110°C.
7. Sand away any rough edges after drying using fine sandpaper.
8. Tread on some twine or ribbon and hang.
And here is my card with one of my clay decoration.
I also join my project into the challenges:
- Anything Goes / TTCRD Ch.
- Anything Goes #191 / 613 Avenue Create Ch.
- Anything Goes #32 / A Bit More Time To Craft Ch.
- Anything Goes #258 & #259 / Word Art Wednesday Ch.
- Anything Goes #41 / Simply Papercraft Ch.
- CAS Game #78 - Circles / AAA Cards
- Anything Goes #231 / Addicted to Stamps and More Ch.
Hugs







Wow great cards, I love the keepsake tags too! Your photography is So Nice!! Thank you for sharing your Art with is at Word Art Wednesday Anything goes challenge! Ginny M, DT
ReplyDeleteWhat a clever and neat idea. I'm sure the recipients will love to keep this added little gift from their cards and I love your take on our circle challenge at AAA Cards. Thanks so much for playing along with us this week. Sarah x
ReplyDeleteThis is such a clever and fun idea. I love the texture of these little embellishments and they are a great addition to a card. Thanks for playing along with us at AAA Cards!
ReplyDeleteWhat a fabulous idea - your ornaments are gorgeous and make a wonderful addition to your pretty card!
ReplyDeleteThanks for sharing with us at ATSM and I hope you will join us again soon.
Hugs
Carol x
A lovely way to use a circle and add a dimensional element. I'm going to try this, thanks for the inspiration. CarolG
ReplyDeleteWow! These are great! Thank you so much for entering our ATG challenge at Through The Craft Room Door this week. Looking forward to seeing you again next challenge.
ReplyDeleteCrafty hugs,
Ema
Gorgeous card. And thanks for the tutorial. I definitely want to try it. Thanks for joining us at ATSM. All the very best. Nandini DT
ReplyDeleteYou always have such cool projects and tricks to share with us. Thanks so much for playing along. I hope you will join us again soon.
ReplyDeleteBlessings,
Karen
Word Art Wednesday